

| Earn 7 hours of professional development in visual arts education. Get proper art literacy training to set up your classroom for fall. Catch up with videos this summer. No more guessing on what you should be teaching! There’s a lot of art advice out there that is not designed to teach YOU proper art literacy for children. I’ve spent years designing curriculum and training courses to help Montessori guides effectively teach art lessons to children. I have designed this summer art video bonus to help you get on the right track! When you purchase this 6-video set, you will also be invited to a special Q&A session with me to help you get all your questions answered and to demonstrate the right art materials to bring into your classroom. This live session will be held in the middle of August (date TBA), giving you enough time to consume the videos. BUY 6 VIDEO BUNDLE NOW for instant access! These summer 6-video trainings are on sale for only 72 hours! |
 |
What Visual Arts Looks Like For Children & Why It’s Important
In this pre-recorded 20-minute training, Spramani explains the areas young children should learn in visual arts and why it is important to teach in the 21st century.
 |
| The Art You Should Teach First! In this pre-recorded 1-hour training, Spramani explains what Montessori art guides should focus on teaching first. She describes the areas to focus on and gives examples of art lessons. She also explains what you should present and demonstrate to children who are just beginning to learn art. She shares a wealth of professional art teaching advice. |
 |
| How to Theme Art & The Natural World In this 3-part video series, 2 hr. Spramani shares: -How to take your child outside and encourage them to observe like a scientist & artist.How to use art and Montessori subjects to inspire exploration of the natural world and expand their knowledge. Learn how art lessons can represent various aspects of Montessori topics in nature, such as seasons, soil layers, energy, rocks and minerals, fossils, landforms, water, flora, fauna, and the atmosphere. |
 |
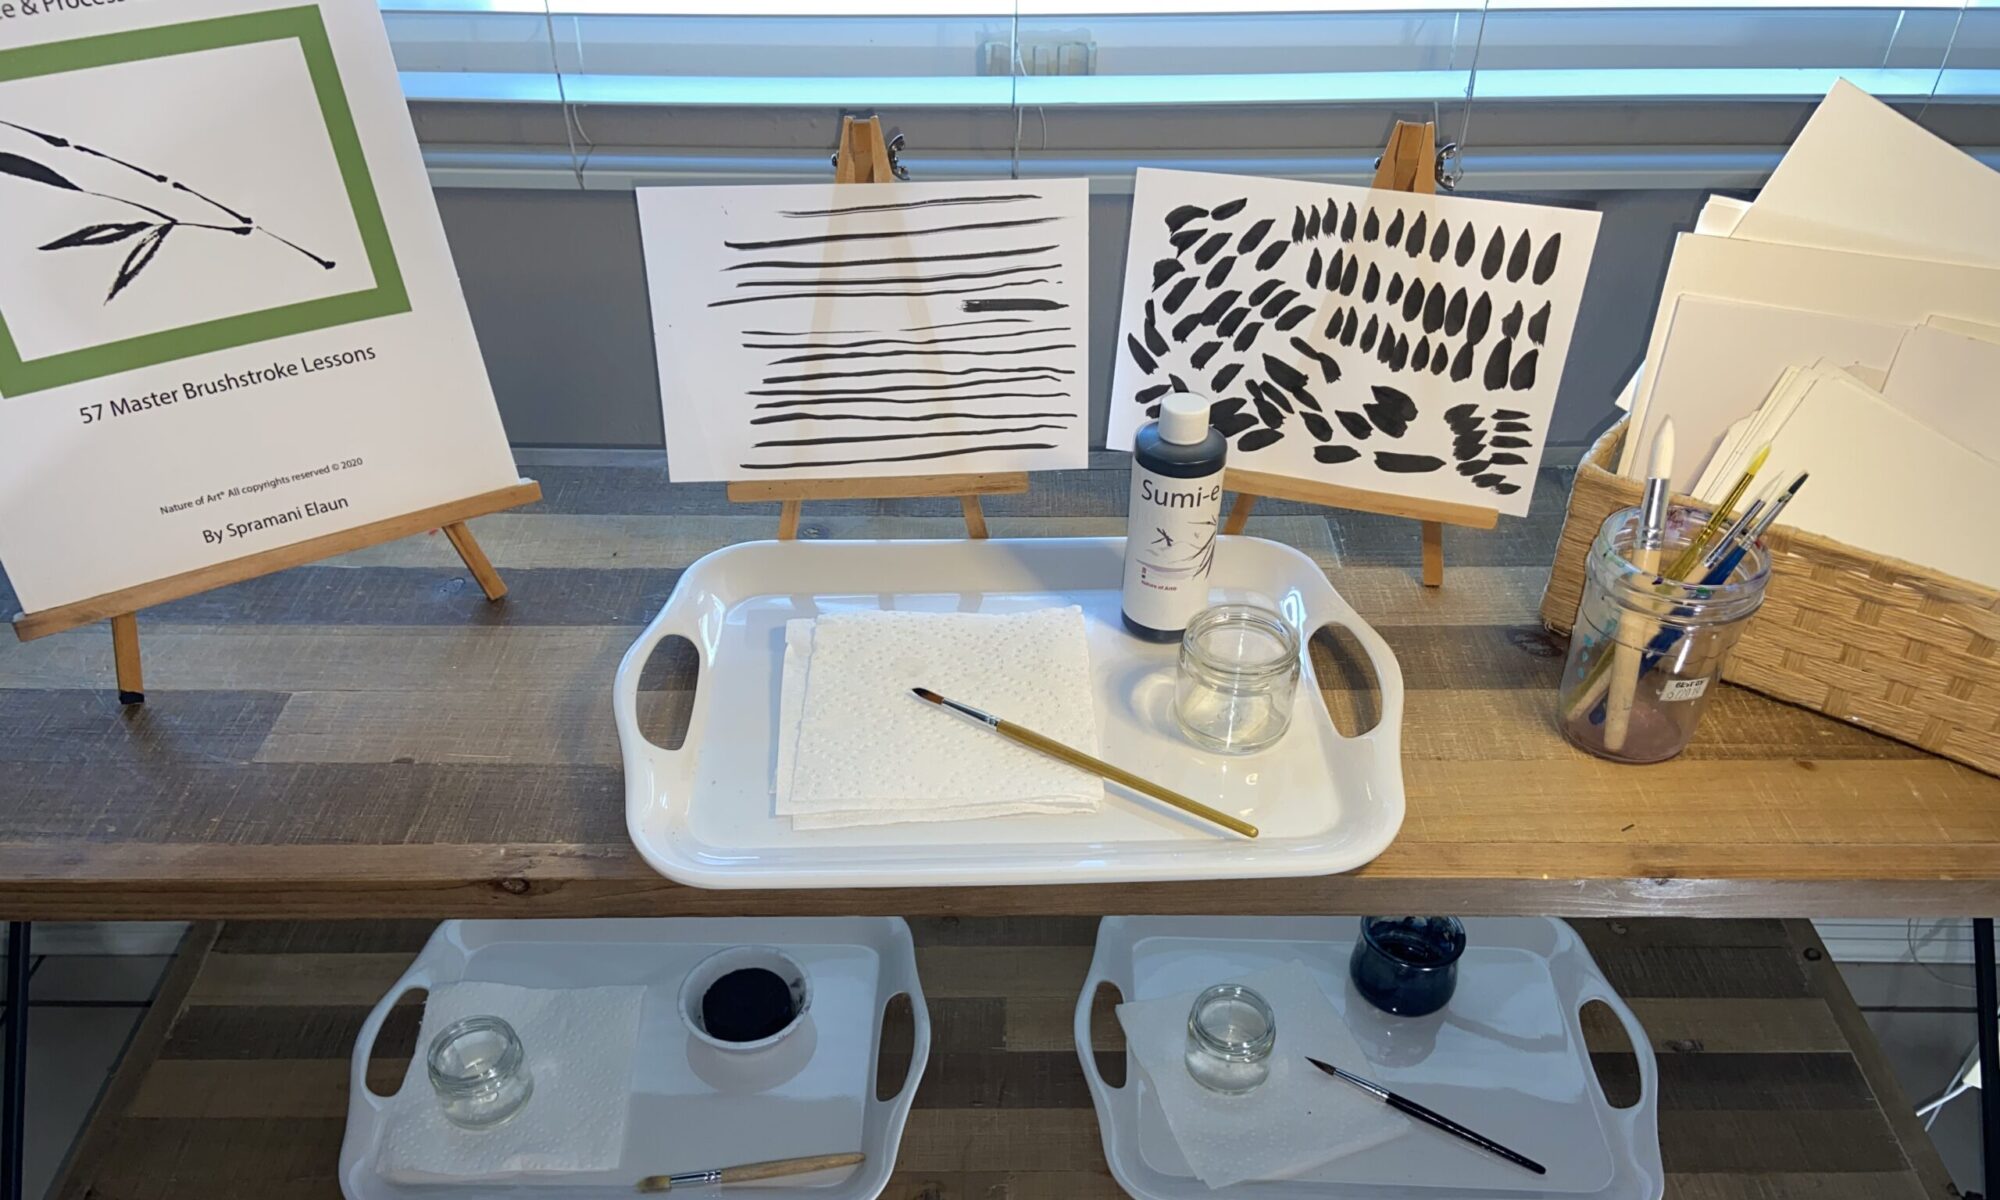
| How to Stage A Montessori Art Shelf In this 1-hour pre-recorded video, Spramani shares her: – Proprietary staging system for Montessori classrooms – How to stage to meet the arts standards – What types of materials to stage – How to support group and independent work, and much more! |
 |
| Positive Artful Ways To Talk To Your Students Spramani shares her 30 years of experience in talking to students in a positive, supportive way, encouraging creative expression as an art facilitator. Spell and grammar check: She shares examples of how these conversations sound. |
 |
| Watercolor Joy In this 1-hour video, Spramani shows you which watercolor paints to use for teaching children. She provides you with all the tips on what to buy, how to set up, and how to prepare for watercolor process-based activities. Great if you are curious. |
| Art Sale – 72 Hours Only! |
| Get instant access to watch the videos you’ve been waiting for! With a generous 3-year viewing window, you’ll have plenty of time to dive into the pre-recorded live sessions hosted by renowned art teacher Spramani Elaun. Whether you prefer watching on your phone, tablet, or desktop, you can enjoy these videos anytime, anywhere. Don’t miss out on this opportunity to enhance your artistic skills and knowledge. Start your creative journey today! |


