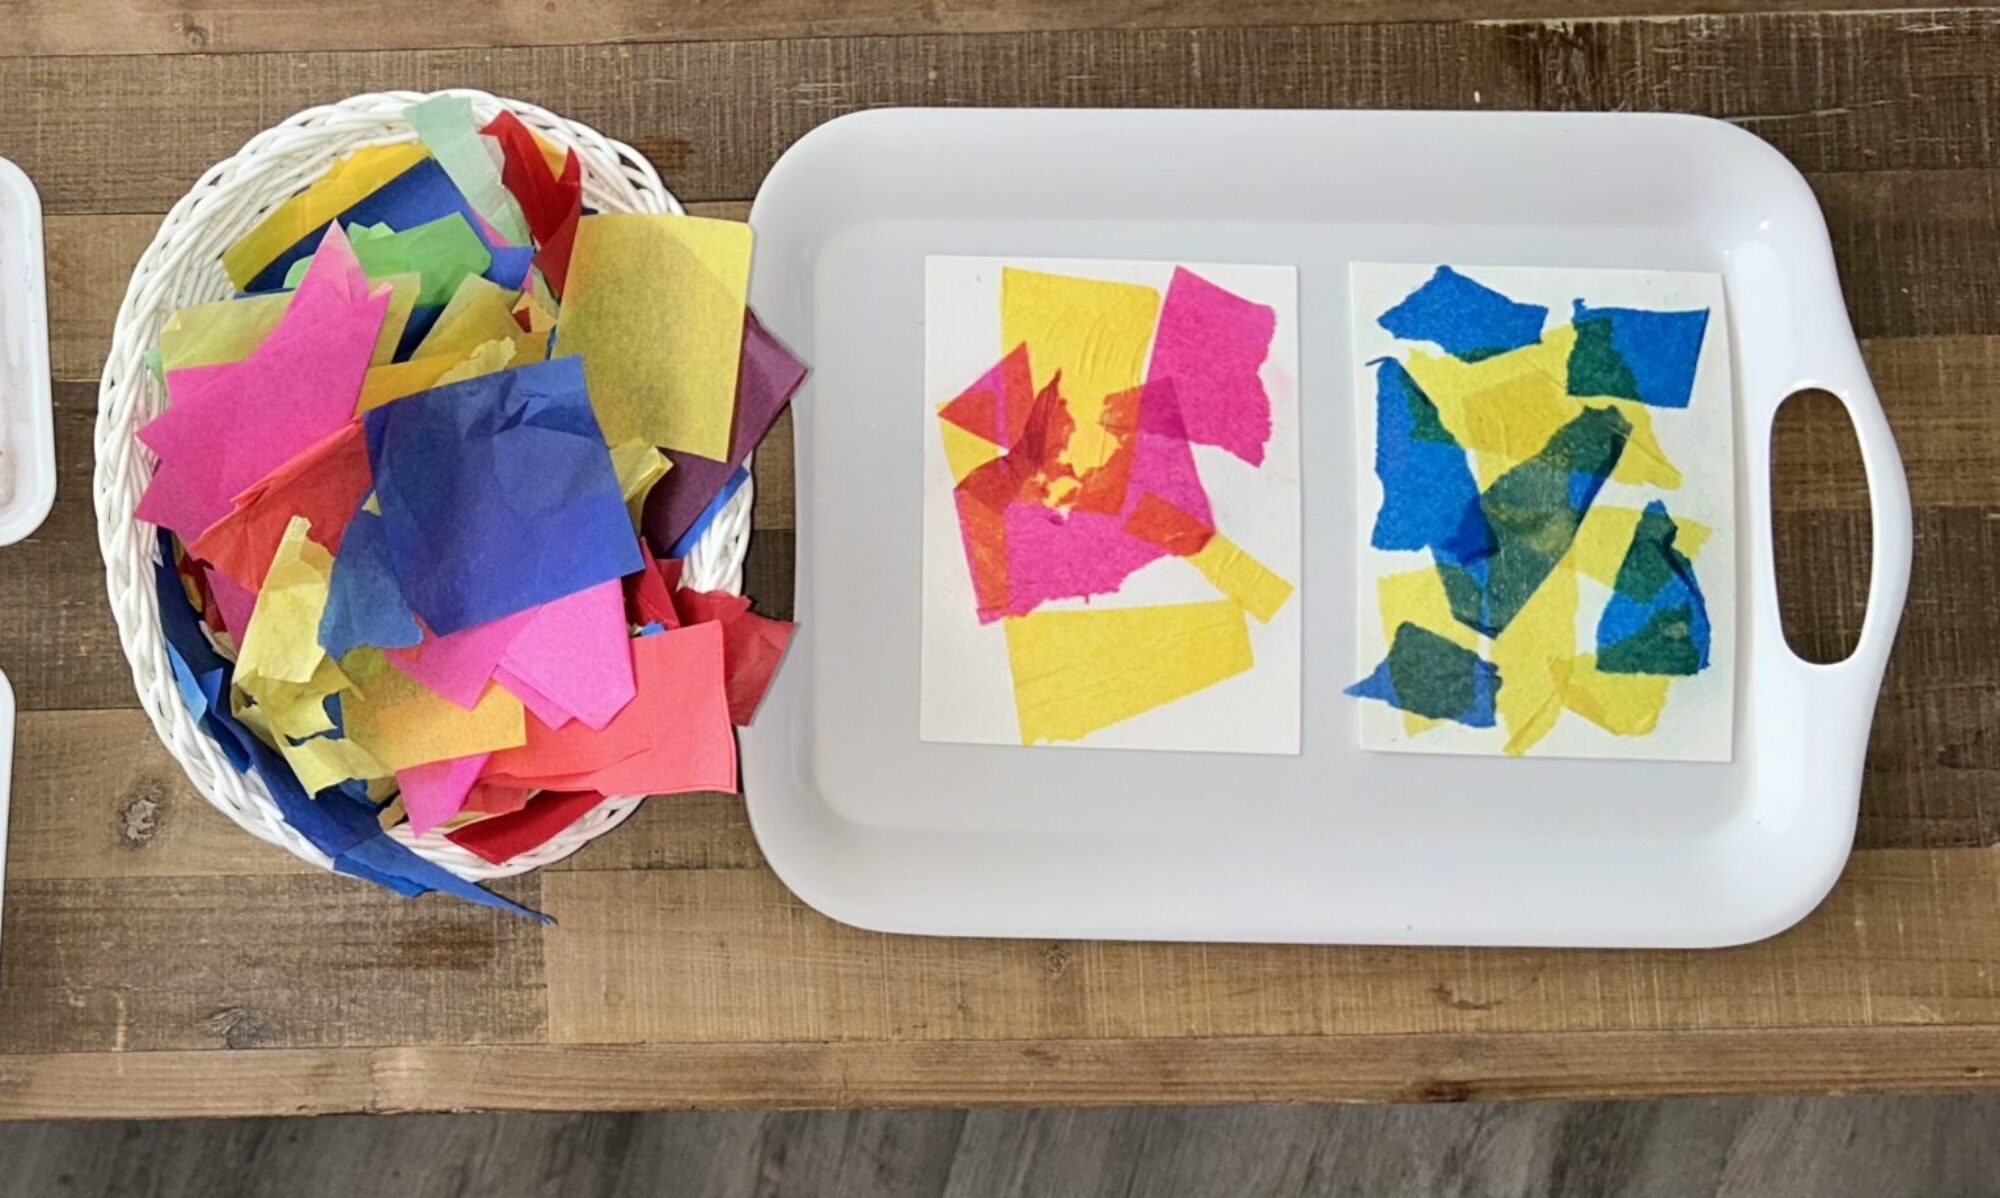
For so many people around the world—especially in the U.S.—schools have been looking a little different as of lately. Kids are spending more time at home, and parents are scrambling for ways to bring a full classroom experience into their homes. And unfortunately, art is an often overlooked aspect of Montessori education today. If you don’t quite know how to teach art or haven’t had much experience in the subject, setting up a space or lessons for your children can be overwhelming. It doesn’t have to be though! Here’s your guide to organizing and setting up a Montessori homeschool art room space for your kids this year.
The secret to a beautiful, functional art space is really about giving kids the space and permission to work and create uninterrupted. If you give your children a space to make art, they will do it!
Before we go into my art room organizing tips, here’s a little perspective: If you don’t have a shelf filled with books, you won’t raise readers; if you don’t have pens, papers, or a dictionary handy, you won’t raise a writer either. So, guess what? When you don’t have an art space filled with art supplies, you won’t raise an artist!
And creating art has a ton of benefits that goes beyond a beautiful finished project; art helps improve kids’ focus, problem-solving skills, stress-management skills, emotional literacy, and hand-eye coordination. That’s why it’s so important to give children a space to create.
As an art studio designer, children’s art teacher, and former homeschool mom, I’ve had the opportunity to design many stimulating creative spaces for kids of all ages. I will teach you what you need to know about creating a homeschool art room space for your Montessori students.

Montessori Homeschool Art Room Design
In reality, you can design your art space however you want, however, every Montessori homeschool art room needs to include these six components:
- Table – all activities should take place on a flat surface
- Chair – along with a sturdy table, children need a safe place to sit while working
- Floor covering – this saves your floors from spills!
- Light source – for children to work with color they need a good source of light
- Storage – art storage comes in many shapes and sizes, including baskets, jars, plastic bins, shelves, or an art closet
- Sink – the sink doesn’t need to be in the immediate art space, but should be close and easily accessible, like a bathroom or kitchen; it’s needed to wash materials and hands

Montessori Homeschool Art Room Location
Because an art space doesn’t need to be elaborate, you can set it up basically anywhere in your home. It can be a dedicated room, corner of your child’s bedroom or family living room, part of your yard or basement, and even in your kitchen.
One of my homeschool-mom friends set up a simple desk for her kids in her kitchen; I loved seeing what her daughter would create when I’d visit for tea! My own kids’ art spaces have transitioned throughout the years to be located in different spots around our home. Now, my daughter, who is 19, likes to draw and paint in her bedroom!

Montessori Homeschool Art Room Supplies
You can keep your art supplies very basic, such as paper, colored pencils, paints, paintbrushes, and clay. But, it’s very important to make sure any art supplies you give your children are non-toxic and kid-safe. For a list of the basic art materials I recommend for every Montessori classroom, click here.
I also created age-specific art materials lists. Click for:
Early Childhood
Lower Elementary
Upper Elementary
Where to Start: Keep Things Exciting—and Organized
The secret to keeping your art space and art supplies organized is only keeping out the materials your child is currently into. If you had every supply out all the time, things could get cluttered and untidy, and your child may actually get bored.
If you see that your child is drawn to painting, keep those supplies out. They may seem content with whatever activity you put in front of them, but make sure you’re switching things up. Put out papers, pencils, and stencils for a week so your child can explore drawing; the next week put out clay and modeling tools; then put out paintbrushes, different types of paint, and paper.

One Step Further: Watch My Montessori Art Storage How-To Video!
Hopefully, this guide I have provided has given you the tips and information you need to set up your child’s at-home art room space. I know that storage can get a little tricky though—especially if your whole family is sharing a live/workspace. I originally created this art storage video for Montessori teachers, but all the principles apply to at-home art spaces and storage too.
In it, I walk you through how I set up my own Montessori art storage area. You’ll see how I organize things overall, but I’ll also show you how I categorize my tubs and storage containers. And then, as a bonus, I walk you through how I use the art materials I have in storage to set up an art lesson without much thought. Trust me, it’ll save you tons of time if you get this down.
Click here to unlock and watch my video, How to Set Up Your Montessori Art Storage Stress and Mess Free.


All rights reserved © 2025, Nature of Art®
No part of this blog may be used or be reproduced in any manner whatsoever including reproducing, publishing, performing, and making any adaptions of the work – including translation into another foreign language without written permission except in the case of brief quotations embodied in critical articles and reviews. Nature of Art® Publishing P.O. Box 443 Solana Beach, California 92075.


