Watercolor Play | Montessori Art Lesson

If you’re looking for a hands-off project that’s fun for kids, I have the perfect art lesson for you! Watercolor Play introduces young children to the basics of color and lets them explore their creativity. Because this project is process-based—meaning it’s about experimenting and experiencing the process of making art—it’s a perfect Montessori art lesson, since students can work independently.

Watercolor Play is a simple, natural way for kids to learn the basis of color. Students in Plane 1 or younger can’t really be sat down and taught color theory, so this activity is a way for them to be introduced to color in a way that meets their level of understanding. It teaches them how color behaves and mixes, which are things all artists need to learn, without getting into technical details and overwhelming them.

This lesson provides the building blocks of color theory so students are ready for more advanced work as they get more experience. This foundation will help them be more willing to experiment when they’re older, because they already have an introduction to art and the knowledge of how colors work together.

Watercolor Play is Ideal for Early Childhood

While this activity is ideal for early childhood, you can adapt aspects of it to work for older children too. You’ll see that I try to keep this art lesson very simple to start off with, but you can add in primary and secondary color concepts once students have a better understanding.

Early childhood montessori art

No matter how old your students are, mixing colors can be therapeutic. It’s soothing, relaxing, and can relieve stress. Giving children the opportunity to play like this also helps them develop the wiring in their minds.

I recommend setting up this art lesson on a regular basis—maybe once a month, or even once a week—so their understanding consistently grows and deepens.

Watercolor Play from Spramani Elaun on Vimeo.

Supplies

  • Kid-safe, non-toxic liquid paint (acrylic, tempera, or watercolor) that’s been watered down to be transparent
  • Bottles with adjustable caps OR clear plastic tubs
  • Bowls
  • Paintbrushes, sponges, stampers, drippers
  • Watercolor paper or thick/butcher paper (optional)
  • Aprons or old clothes

Steps:

  1. Put all your materials out on a table
  2. Let kids explore and play

That’s it! Watercolor Play is such a simple activity. You don’t want to direct it or try to teach anything if your students are at a young age. Let them play with the colors and mix things naturally, they’ll create their own colors and see things for themselves. If they’re old enough to ask about colors, then you can go ahead and start naming the general hues, and hint at what adding other colors might do to change the original color (i.e. make it lighter).

Watercolor Paints

You can start with whatever colors you want. You can start with primary colors, or set out just one color at a time, then add new or different colors the next time. I recommend sticking with limited color options to start out with, especially for children 24 months or younger. Once they’re older and have had more exposure to colors and the activity, they’ll be able to start experimenting more, and getting more excited about their experimentation.

With this art lesson, you’re not focusing on the outcome; do not expect kids to create an actual finished work. The watercolor paper is optional because older students may want to make their own artwork, if the choose to do so, make sure there’s a place to keep the paper out to dry. Seeing how the paint and color changes once their work is done is part of the experience as well.

You may also want to consider starting with lighter colors before introducing darker ones, since dark colors can “stain” the other ones by eventually turning everything a murky gray—which is less exciting.

While this project is relatively hands off, you may need to take the lead initially by squirting and mixing the paint in your own bowl or tub. Kids are so used to us telling them to be careful, and not to make messes, so this is a new experience for them.

NOTE: This project should be set up outdoors or somewhere that water can be splashed (i.e., not rugs or carpet). This project can get messy with younger children, since most toddlers and lower elementary students don’t yet have very developed fine motor skills to control what they’re doing.

For more activities and lessons on color theory, check out my book Kids Color Theory.

montessori art early childhood


arts and craft book by Spramani Elaun

Spramani’s Books

Teach children visual arts

Curriculum For Children

Get step-by-step art curriculum to teach visual arts. Check out our 4 art curriculums:
Painting
Drawing
Color Theory
Clay Modeling

All rights reserved © 2024, Nature of Art®

No part of this blog may be used or be reproduced in any manner whatsoever including reproducing, publishing, performing, and making any adaptions of the work – including translation into another foreign language without written permission except in the case of brief quotations embodied in critical articles and reviews. Nature of Art® Publishing P.O. Box 443 Solana Beach, California 92075.
5 NEW Ways to Tackle Montessori Art Projects

Montessori art calendar project ideas

5 NEW Ways to Tackle Montessori Art Projects This School Year

By Spramani Elaun

The funny thing about art is that it should be creative—spontaneous even—but as Montessori teachers we can sometimes get stuck in a rut and begin to teach the same art lessons over and over again. I don’t want that to happen to you! Not this school year at least!

It’s back-to-school season, and I know you are gearing up for another awesome year, so I wanted to give you a little push and a little inspiration on tackling art this year. There are so many ways to teach art to your students, and I’d love to help find your creativity in any way I can (so feel free to reach out if every you feel like you’re in a slump!).

I know how busy you are with planning your school year and putting the finishing touches on your classroom, so for now, here are five ideas for new ways to bring art into your classroom.

5 NEW Ways to Tackle Montessori Art This School Year

1. New medium

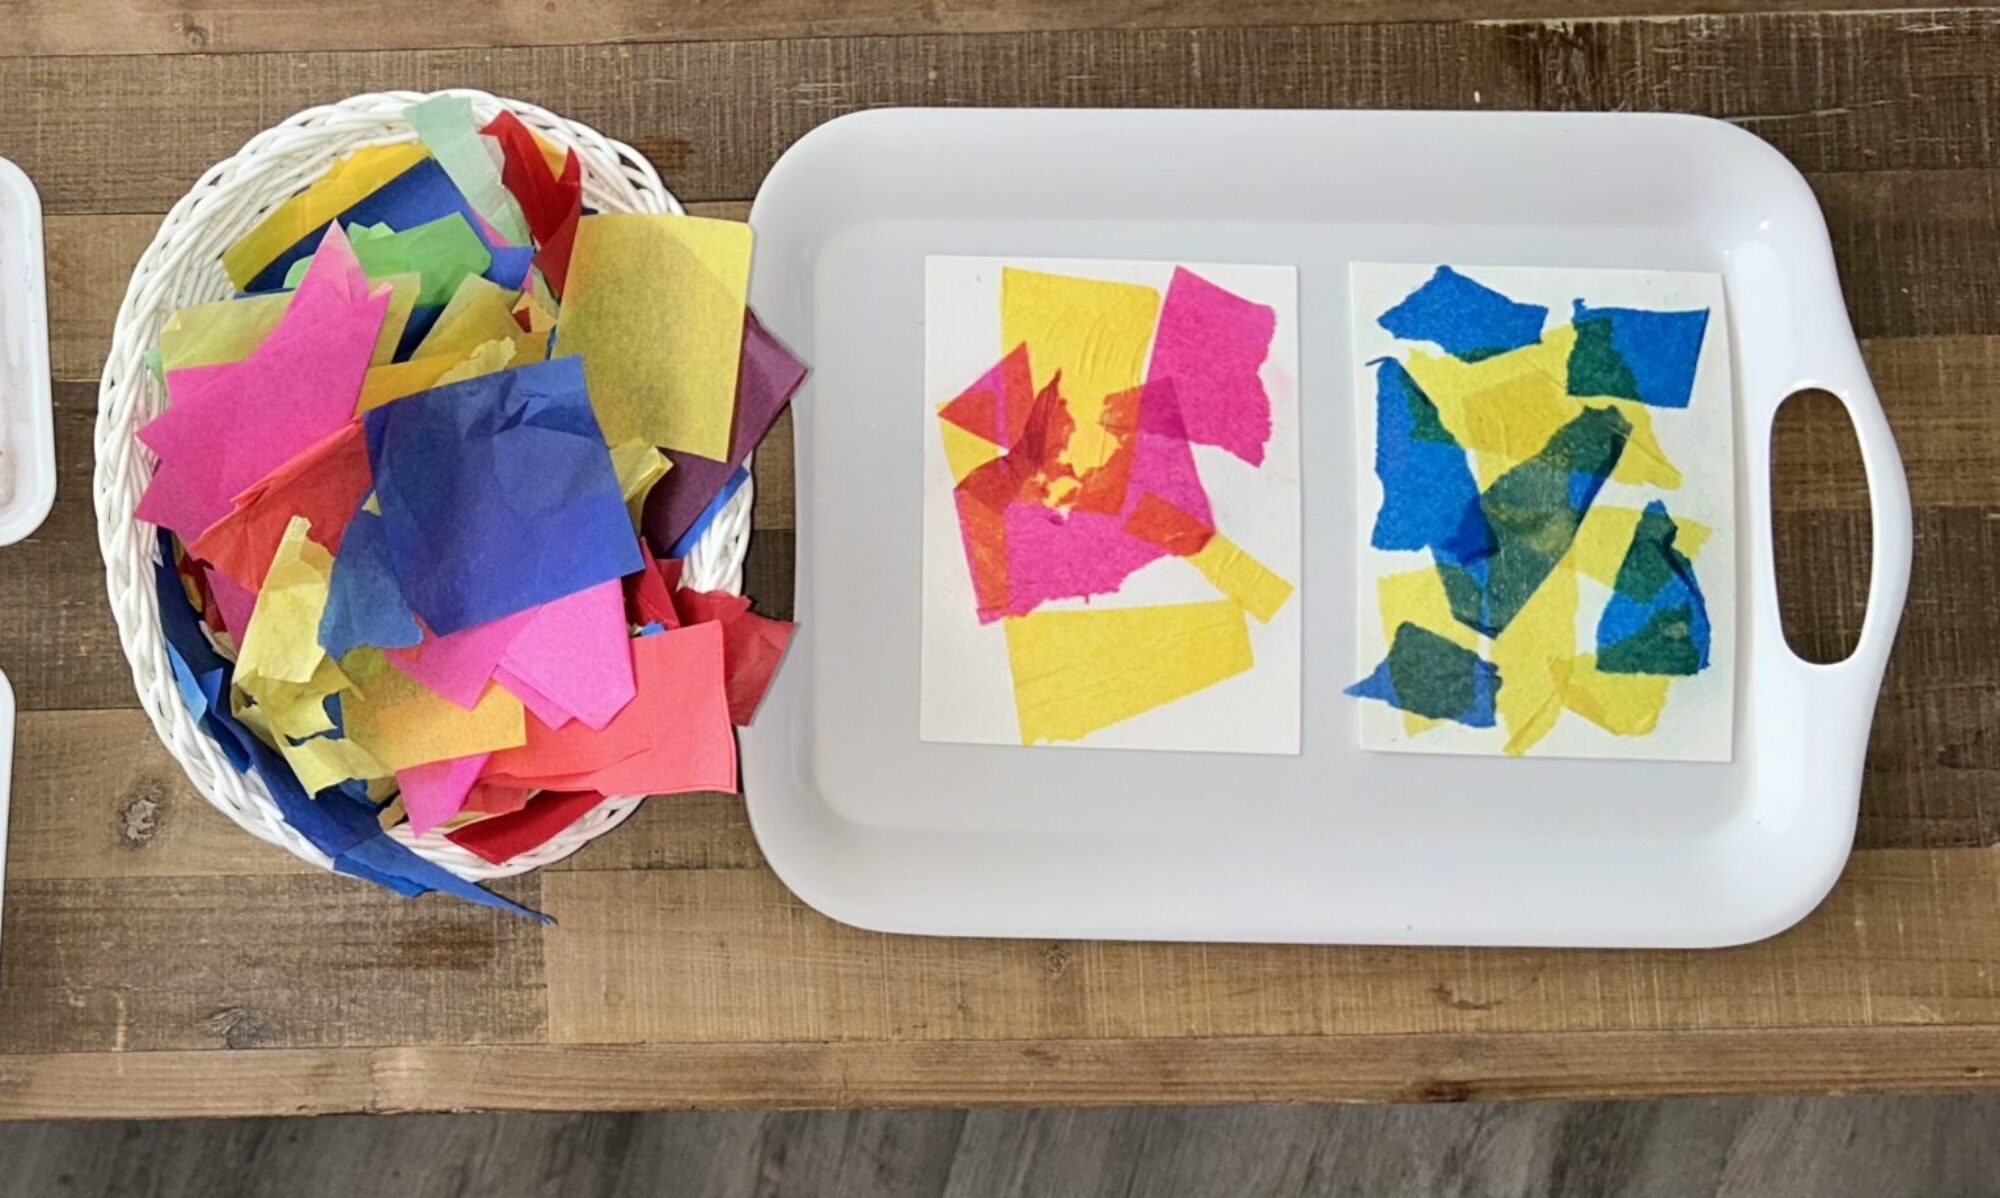
Is there a medium that you didn’t get the chance to use last year, but you’ve really been wanting to give it a go? Now’s your chance! Cross off a bucket-list lesson and spring for a new medium. Or pop into your local art store and browse the aisles until something strikes your fancy. The possibilities are endless! Think about the brilliant colors of oil pastels, modeling clay, seeds, beans, paint swatches (from the local hardware store), and even “found” items like recycled cardboard, magazines, or plastics.

montessori art ideas, jelly fish art project

2. New Art Projects

More than likely, you’re going to start the year by teaching the Great Lessons. And, chances are, you’re going to have a stack of story books that you’ll use and share with your students. So why not look to those books for inspiration? You can highlight the artist’s illustrations or just pull ideas or scenes from the book and make that into an art project. Try extending this idea and move past the story books and into different subjects. For example, if you’re studying the cosmos, create an art project based on that topic.

5 NEW Ways to Tackle Montessori Art This School Year

Over the summer I shared the the book “Hole in the Bottom of the Sea” with kids in my art camp. It shows sealife like jellyfish, crabs, sharks, and seaweed, in a really fun, colorful way. Once we were done reading the book, we made fun painted crafts and created sharks out of up-cycled paper rolls. We also did fish sponge stamps, paper plate jellyfish, crab stamps, and fish-shaped water paintings complete with googly eyes. This one book provided so much inspiration, and it was easy for the kids to make connections to what they had learned about the ocean.

montessori art projects

If you’re ever stuck for ideas, Pinterest can be a huge life saver. Just log on, type in the theme or topic you have in mind, add “art project” or “craft” to your search, and you’ll instantly have hundreds of options to choose from! Likewise, your peers and fellow teachers can be a great resource in helping you come up with new art projects this school year. (Follow my Pinterest Boards here)

3. Ask Parents to Help Out

There are two ways parents can really help with art in your classroom, the first is by providing a few of the supplies. At the beginning of the school year, send out a supply list request and ask parents to contribute or donate what they can. You can create a specific wish list or let parents give the supplies they find the most interesting. Most parents understand that art supplies can be expensive and will be willing to help out.

The other way parents can inspire your art lessons is by through volunteering and teaching an art project themselves. So many teachers have shared with me that they’ve invited parents to teach an art project based on their heritage or culture, and it’s always a big hit with students. For instance, I saw one parent come into a classroom and show the kids how to create tinfoil art; the parent presented the entire lesson and the teacher and aides helped the students put it into action.

4. Start Off with an Inspiration Gallery

I’d encourage you to find a spot in your classroom to specifically highlight visual art. You can post students’ artwork or pull together items and pieces that inspire you. A focal point like this not only supports art literacy, but having a place where students can see other artwork will actually inspire them to come up with some really amazing ideas of their own. It might even lead to some inspiration for a few projects for you!

montessori art shelf, how to set up

5. Let the Art Shelf Do Its Job

If you haven’t already set up an art shelf in your classroom, this year is the year to do it! I just posted a blog on art shelf essentials. When your art shelf is stocked and all the art supplies are visible and within reach, students can have at it whenever inspiration strikes.

There you have it! I just wanted to give you a few quick tips to help you approach art with a fresh perspective this year. If you’re still stumped for ideas, check out my book “Introducing Visual Arts to the Montessori Classroom;” in it, I list out tons of ideas (organized by theme and subject), so that can serve as inspiration when you need it as well. And if you haven’t already, sign up for my newsletter—every month I’ll be sharing an awesome, really-detailed art lesson specific to the Montessori classroom.


3 to 6 Art – Early Childhood Montessori Teaching Resources

Sign-up to receive video

The Phases of Art Development is a quick digital course that explains how art making can help students develop their creativity, fine-motor skills, and focus. More importantly, I share what types of projects students at every age are capable of completing safely, and without making a mess.

Best of all—it’s free! To sign up for the course, click here.

All rights reserved © 2024, Nature of Art®

No part of this blog may be used or be reproduced in any manner whatsoever including reproducing, publishing, performing, and making any adaptions of the work – including translation into another foreign language without written permission except in the case of brief quotations embodied in critical articles and reviews. Nature of Art® Publishing P.O. Box 443 Solana Beach, California 92075.